Call Us Today!
508-488-9999
Home Blown-in Insulation & Gutter Solutions
25 October 2024

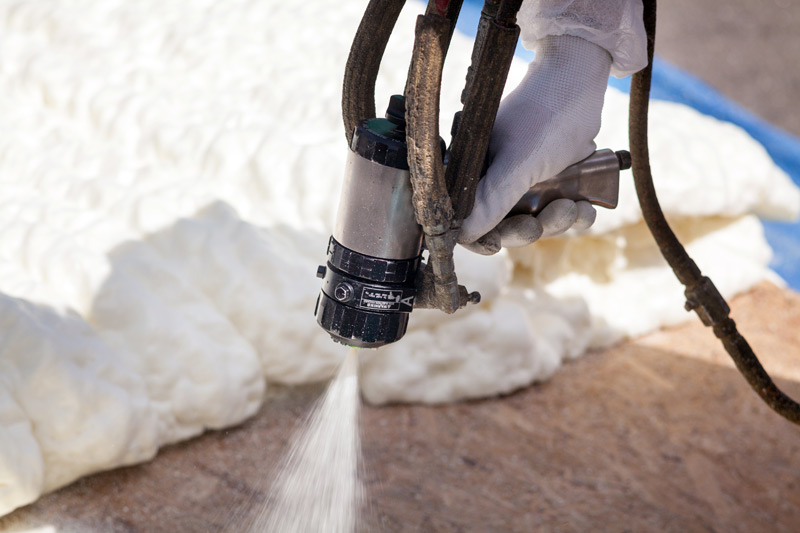
At Custom Insulation Company, Inc., we understand that proper preparation is key to a successful spray foam insulation installation. Ensuring your home is ready will not only streamline the process but also maximize the benefits of your new insulation. Here’s a step-by-step guide to help you prepare your home for spray foam insulation.
Before installation begins, clear the areas where spray foam will be applied. This includes:
To prevent overspray and ensure a clean installation, seal off nearby rooms. Use plastic sheeting or drop cloths to cover doorways, vents, and any openings. This will help contain any dust or particles created during the process.
Good airflow is essential during and after spray foam insulation installation. Make sure windows and doors are open in the areas being insulated to provide adequate ventilation. This will help dissipate any fumes and improve air quality.
Let your family and pets know about the installation schedule. It’s best to keep pets and children away from the work area during installation for their safety. Consider scheduling the installation for a time when you can all be out of the house, if possible.
Spray foam insulation requires specific temperature conditions to cure properly. Ensure that your home’s temperature is within the recommended range (usually between 60°F and 80°F). Adjust your thermostat accordingly to create optimal conditions for the installation team.
Before installation begins, take the time to discuss your insulation goals with our team. Whether you’re looking to improve energy efficiency, reduce noise, or enhance comfort, clear communication will help us tailor the installation to your needs.
Go over the installation plan with our professionals. This includes discussing areas to be insulated, the type of spray foam to be used, and any specific concerns you may have. Understanding the process will help alleviate any uncertainties.
On the day of installation:
Preparing your home for spray foam insulation is an essential step toward achieving optimal insulation results. By following this guide, you’ll help ensure a smooth and efficient installation process. At Custom Insulation Company, Inc., we are committed to providing you with high-quality spray foam insulation tailored to your home’s needs.